Getting started
Sign in to MacroDeck, get oriented with the dashboard, and configure your practice.
This is the first thing to do after your practice is provisioned. Five minutes end‑to‑end.
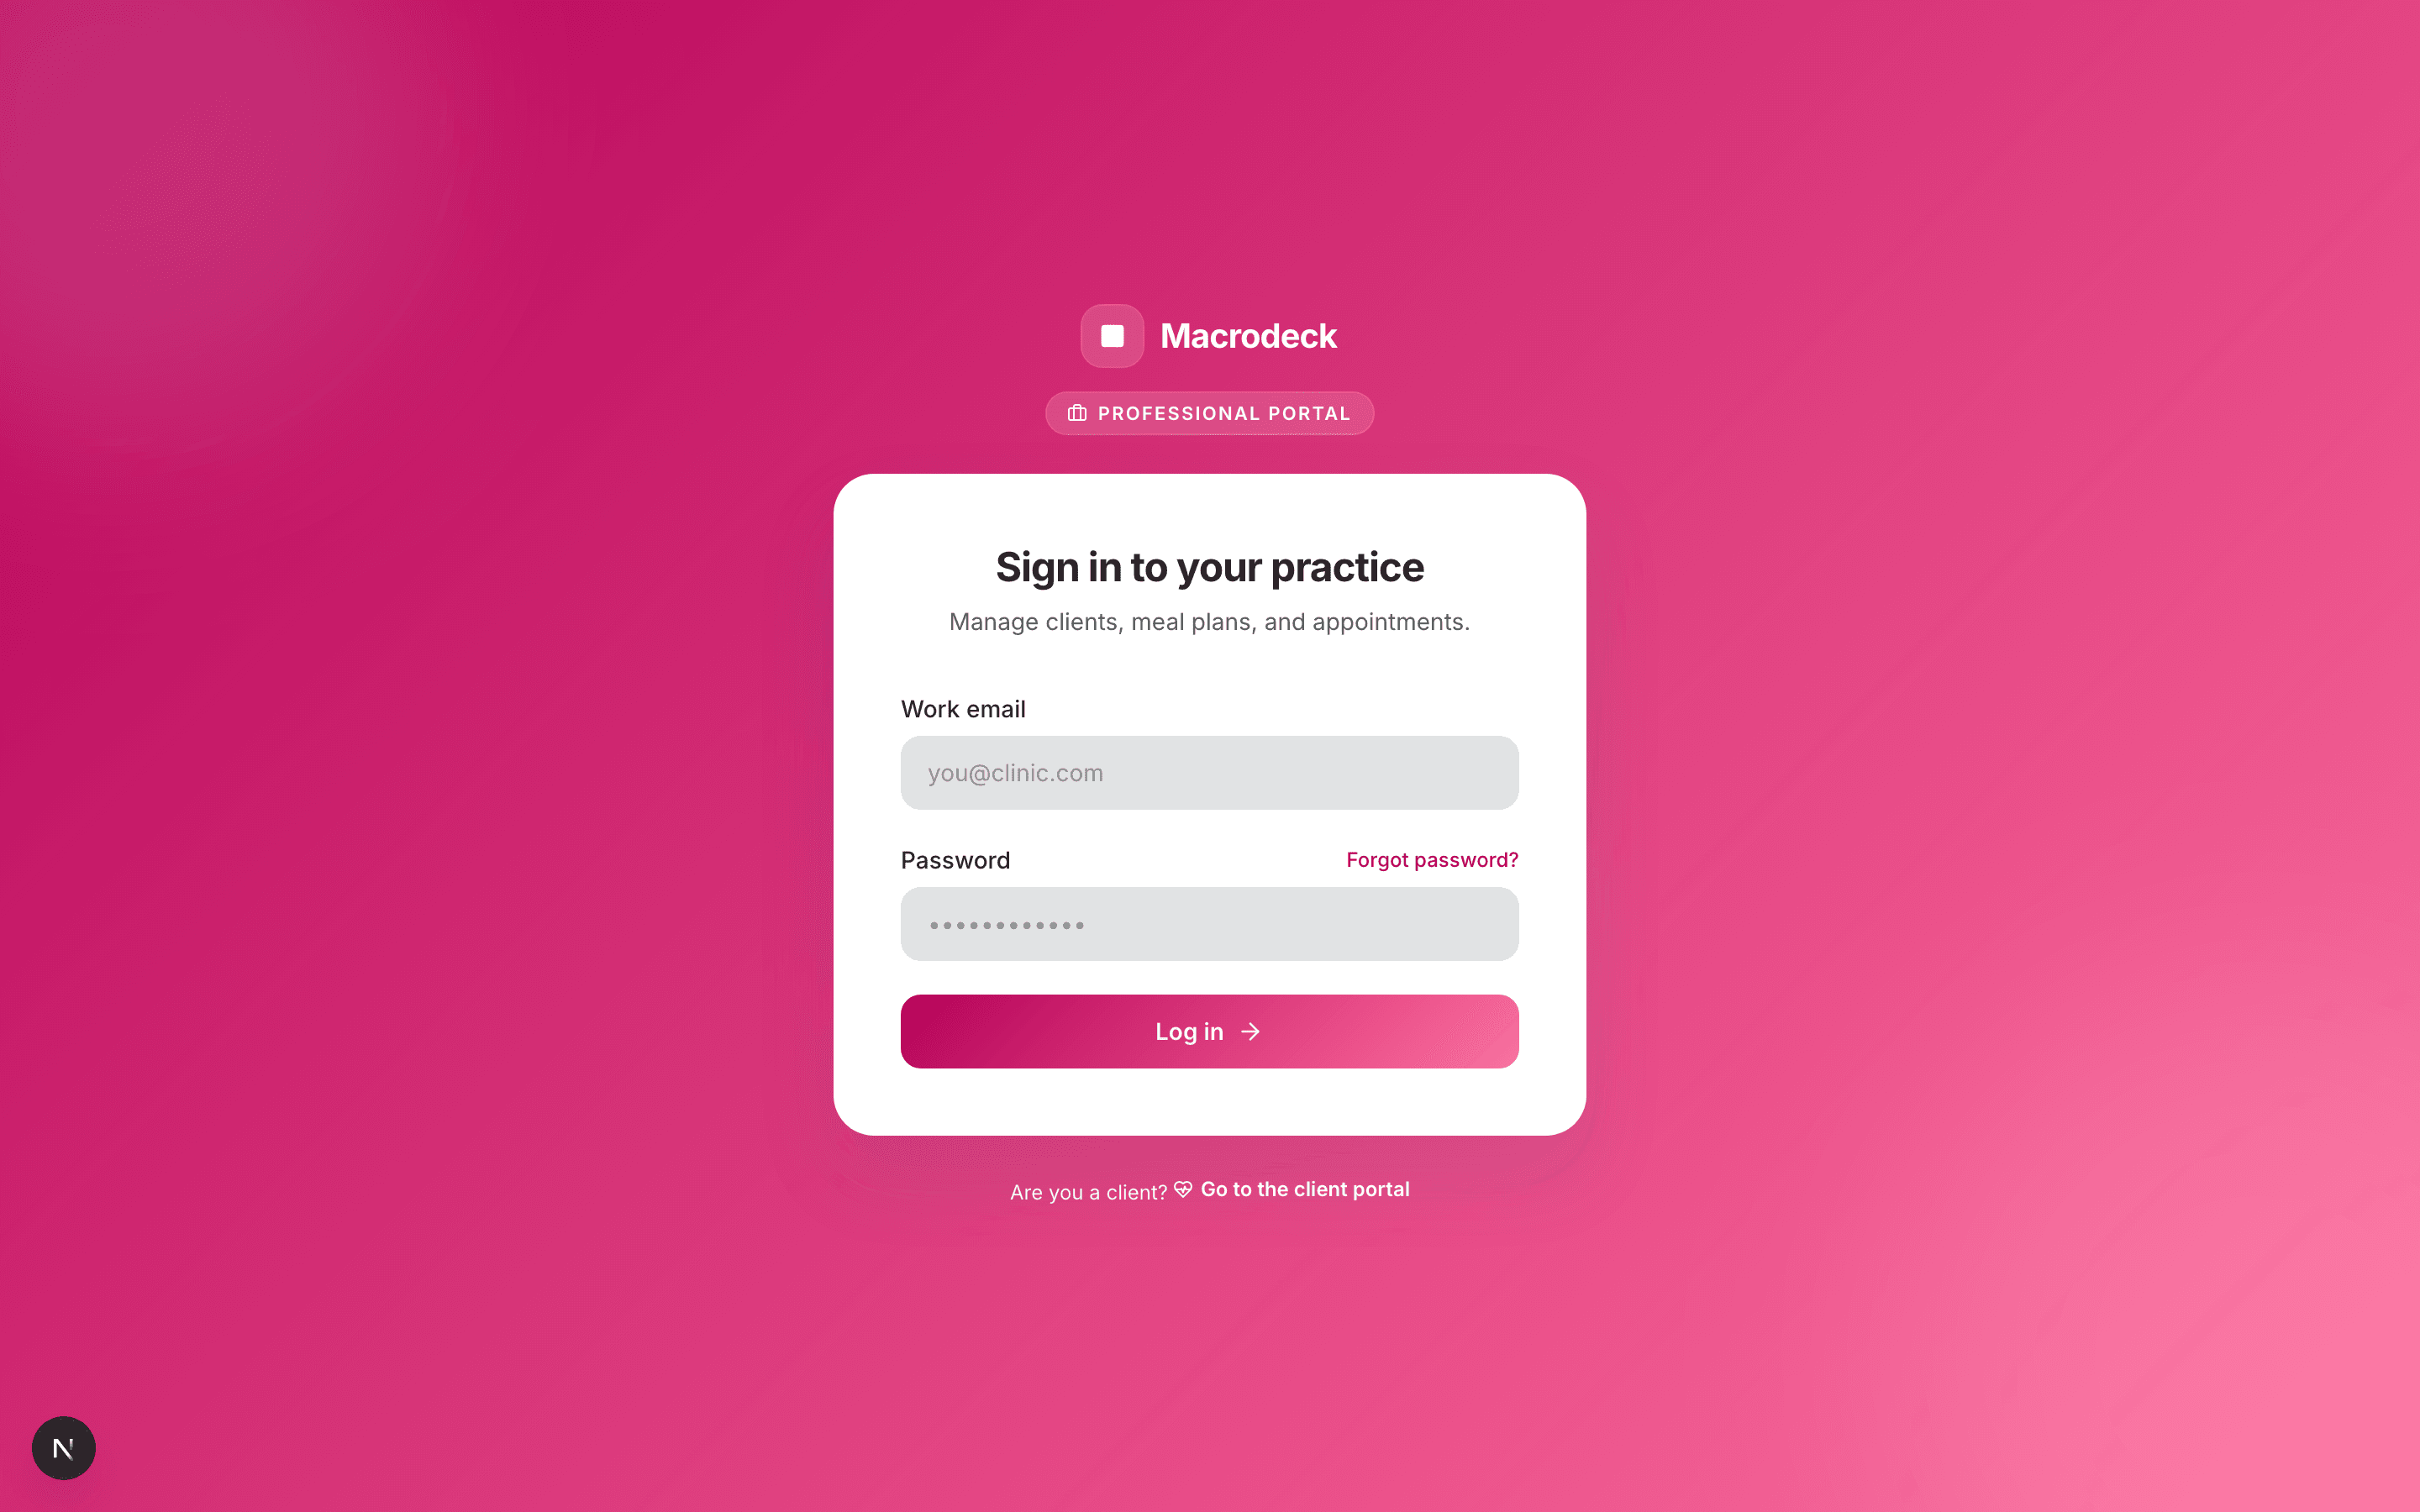
1. Sign in
Open the professional portal and sign in with the email and password your practice was set up with. Clients use a separate URL — the link at the bottom of the form takes them there.
2. Get your bearings
Once you're in, you land on the dashboard. The four cards across the top are the only numbers you need to scan first thing in the morning.
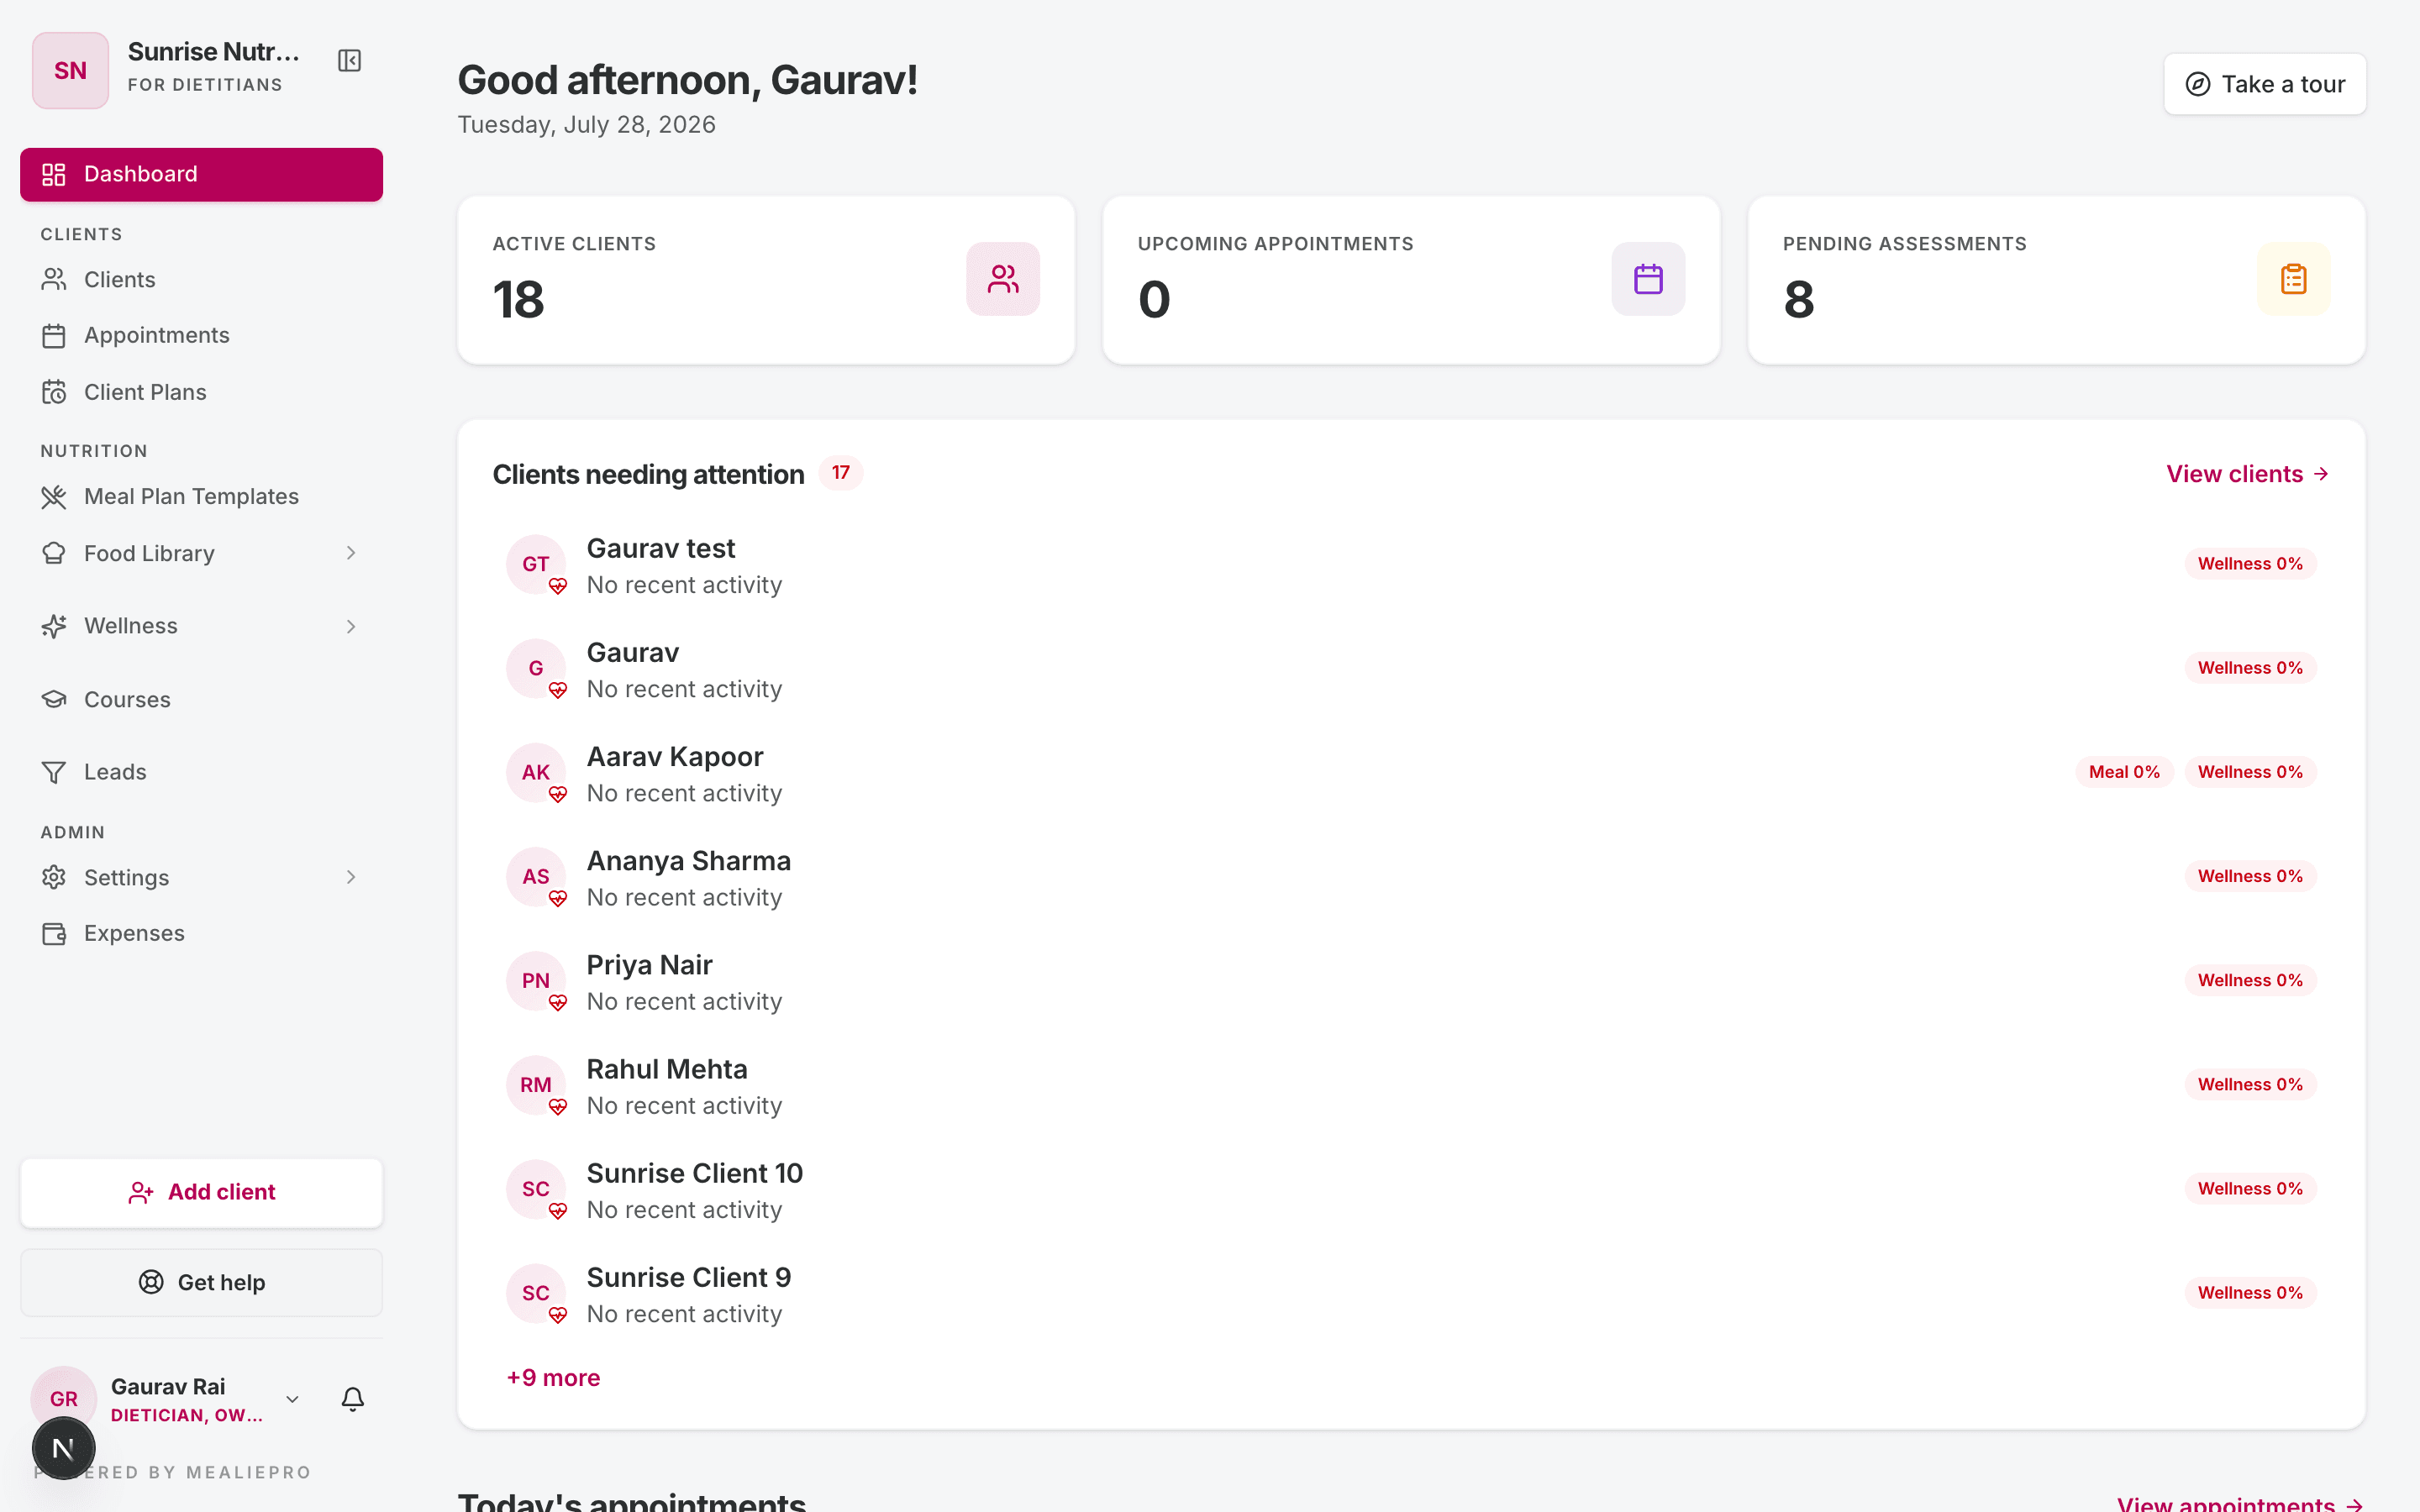
What each card means:
- Active clients — anyone you're currently working with (not archived).
- Upcoming appointments — total scheduled across your team. Today's are listed underneath.
- Pending assessments — assigned questionnaires that haven't been submitted.
Each card is a link — click it to jump to the full list behind the number.
Below the cards, the dashboard flags the clients who need you: adherence chips (Meal and Wellness percentages) on clients who are falling behind, and plan alerts for enrolments about to expire. Those two panels are the real reason to open this page in the morning.
3. Learn the sidebar
Everything is one click away from the left sidebar. Dashboard sits on its own at the top; everything else is grouped so the list stays scannable as your practice grows.
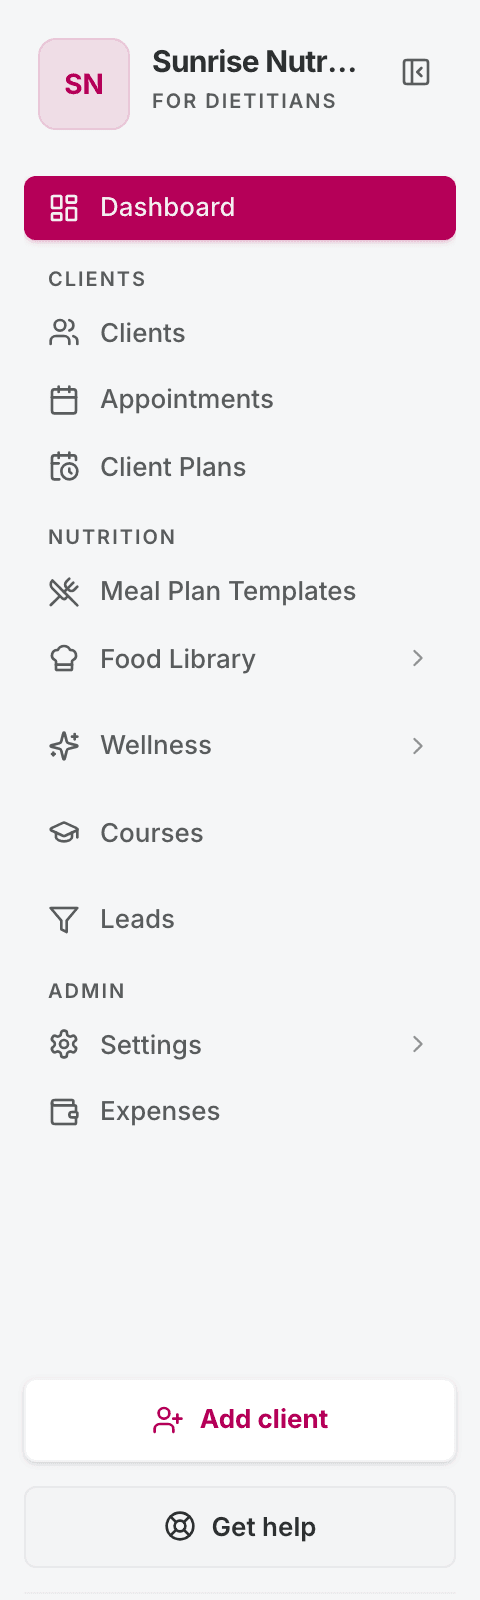
| Group | What lives here |
|---|---|
| Clients | Clients, Appointments, Client Plans, and Messages — the people you serve, their schedule, and your conversations with them. |
| Nutrition | Meal Plan Templates and the Food Library (Foods and Ingredients, as two tabs). |
| Wellness | Wellness — the task library, programs, and tracking fields. |
| Courses | Courses — multi‑chapter programs clients work through at their own pace. |
| Sales | Leads — your prospect pipeline, from first contact to signed‑up client. |
| Admin | Settings (organization, roles, team, pipeline, plan & billing) and Expenses. |
A few items only appear when they apply to you:
- Wellness needs that module switched on for your plan — otherwise it's hidden entirely.
- Courses is always listed, but opening it without the module on shows a preview of what it does rather than the library.
- Leads is limited to roles with pipeline access (owner, admin, dietician, nutritionist, coach, receptionist).
- Settings and Expenses are owner/admin only.
- Affiliate shows up only for partner accounts.
So a coach and an owner see different sidebars — that's expected, not a bug.
Two persistent buttons sit at the bottom: Add client and Get help. Both work from any page.
Tip: several pages have a built‑in walkthrough. If you see a banner offering a tour at the top of Clients, Client Plans, Courses, or Leads, take it once — it points at the real controls on your screen.
4. Configure your practice
Open Settings (under Admin in the sidebar) once before adding your first client. It's a tabbed page — Organization · Roles & Permissions · Team · Pipeline · Plan & Billing.
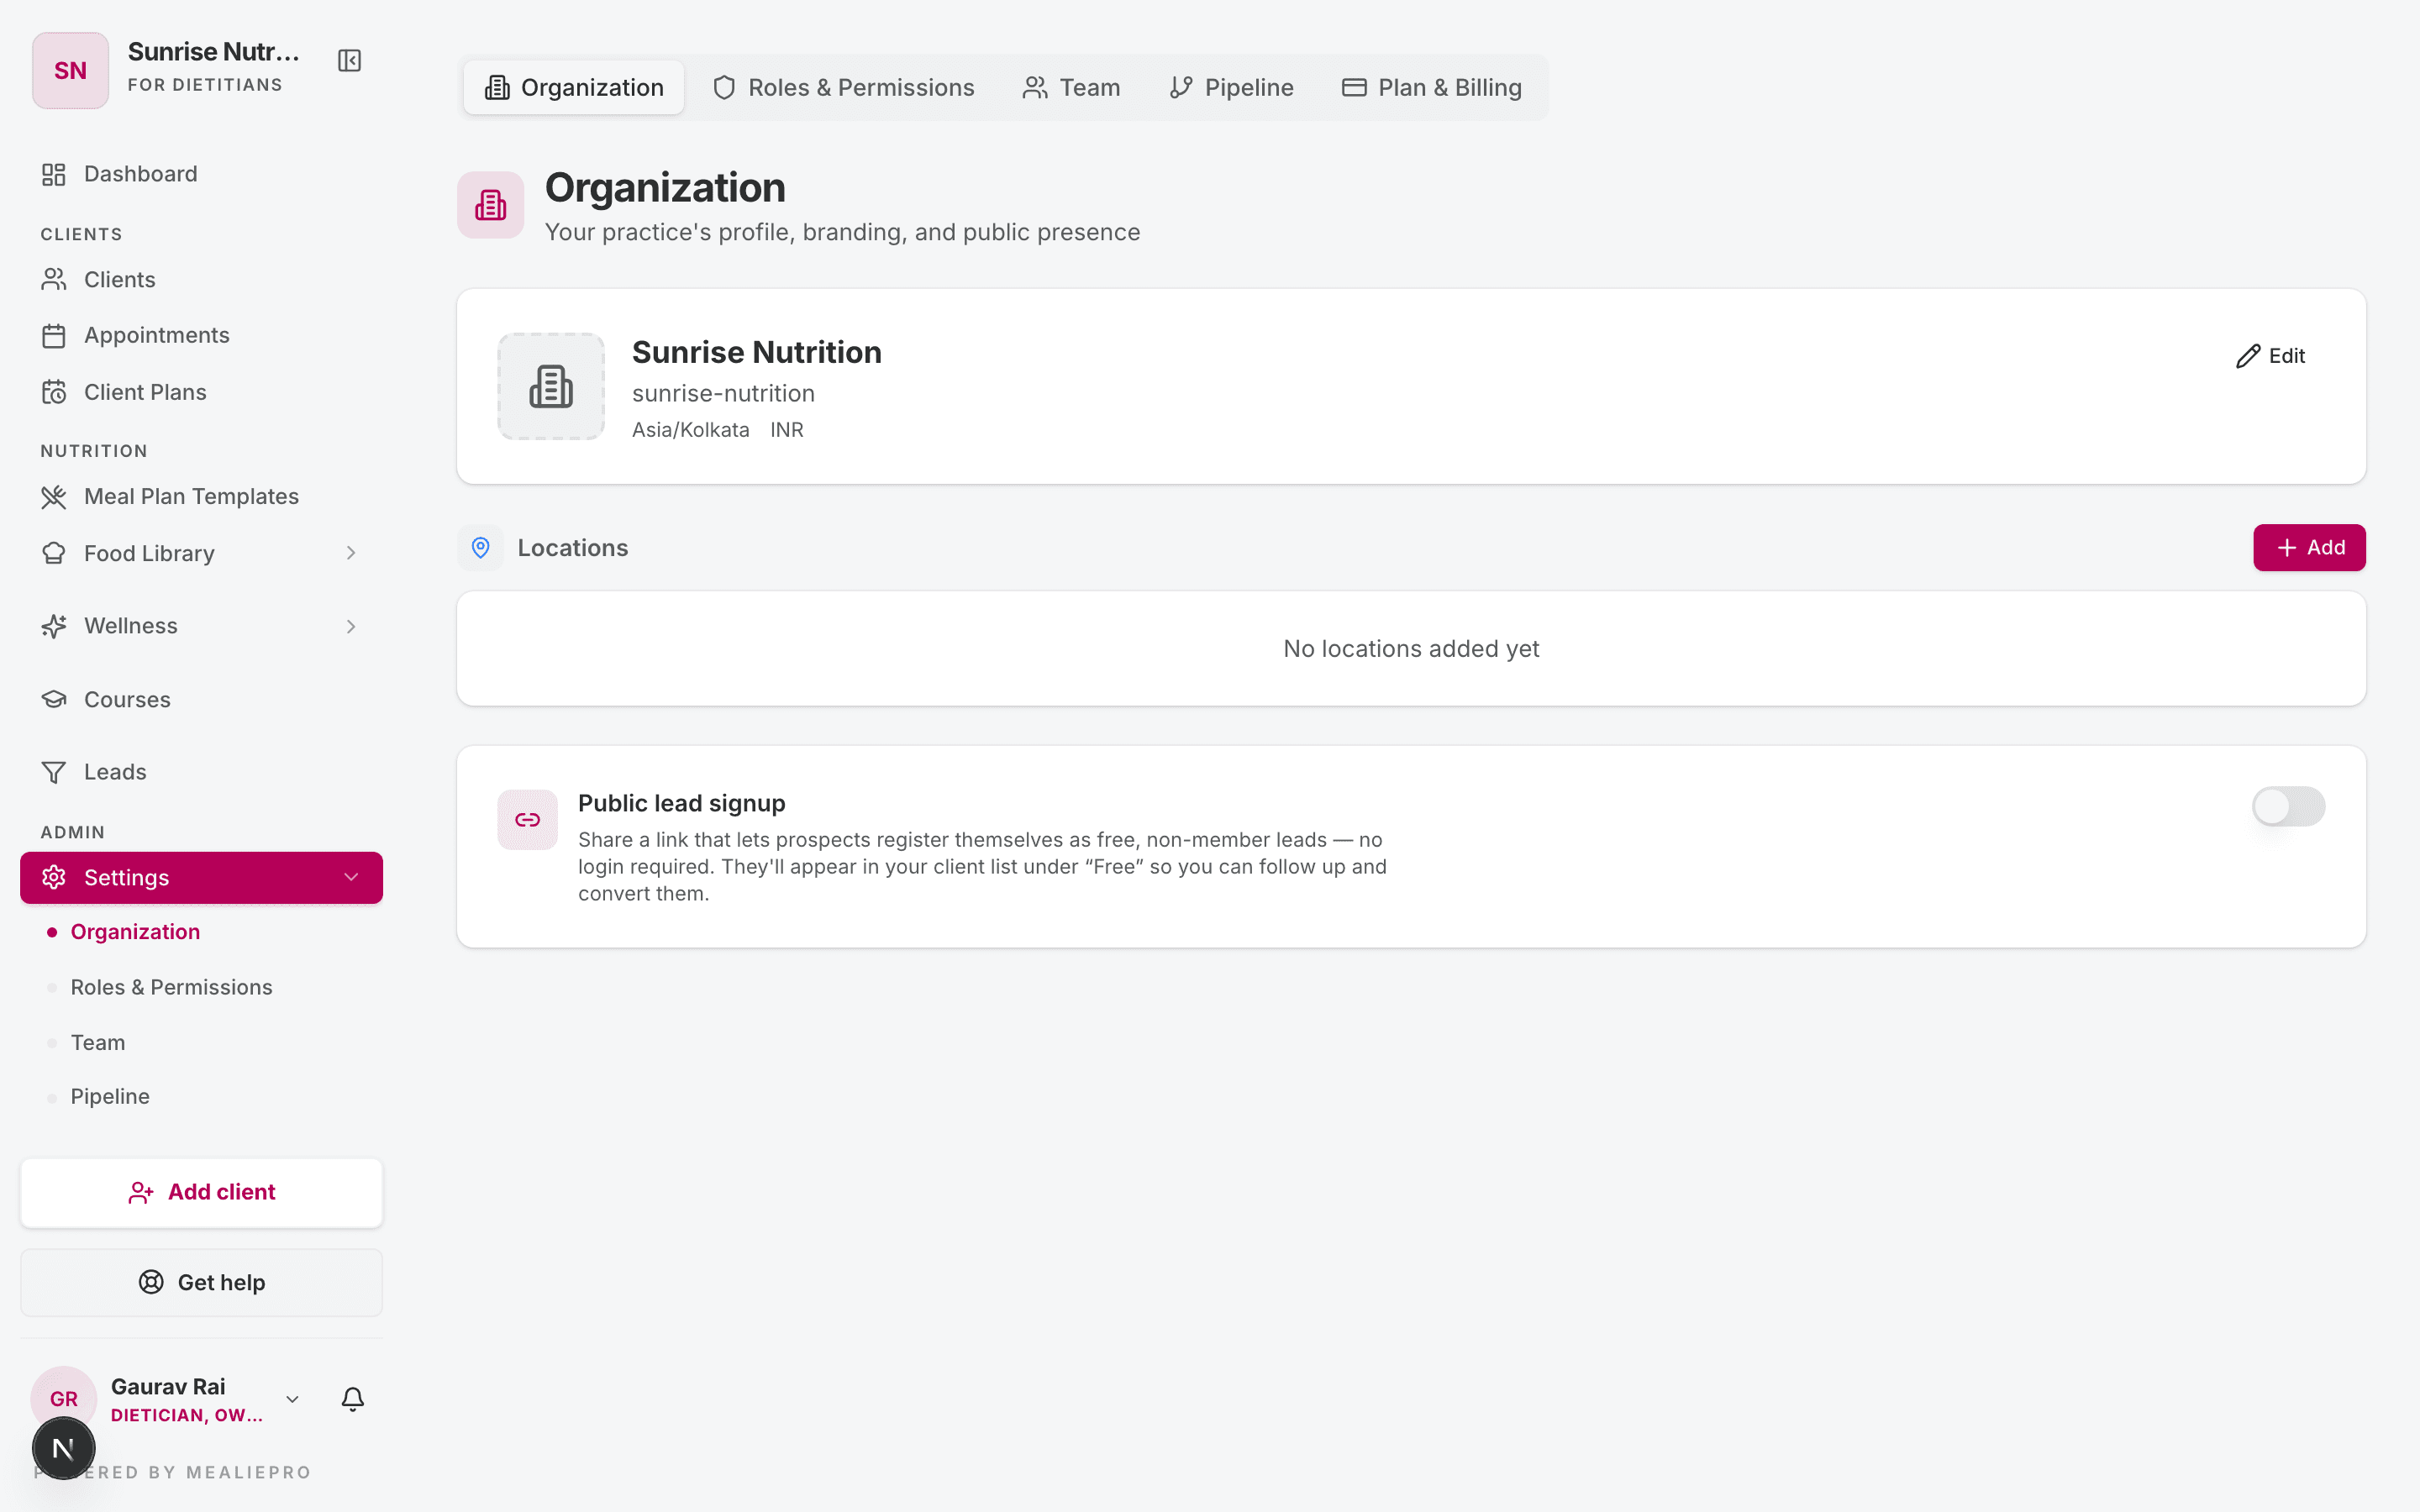
The most useful things to set before you onboard anyone:
- Organization — name, logo, contact info, timezone, currency, and the theme colour clients see.
- Roles & Permissions — if your practice has more than one staff member, decide what each role can see and do.
- Team — invite the rest of your staff. They need to exist before they can hold appointment availability.
You can come back and adjust any of these later — none of them block you from creating clients.
Full walkthrough: Settings & team.
5. Check your plan
Plan & Billing — the last tab in Settings — shows your current subscription, the seats and client quotas you're using, and the limits.
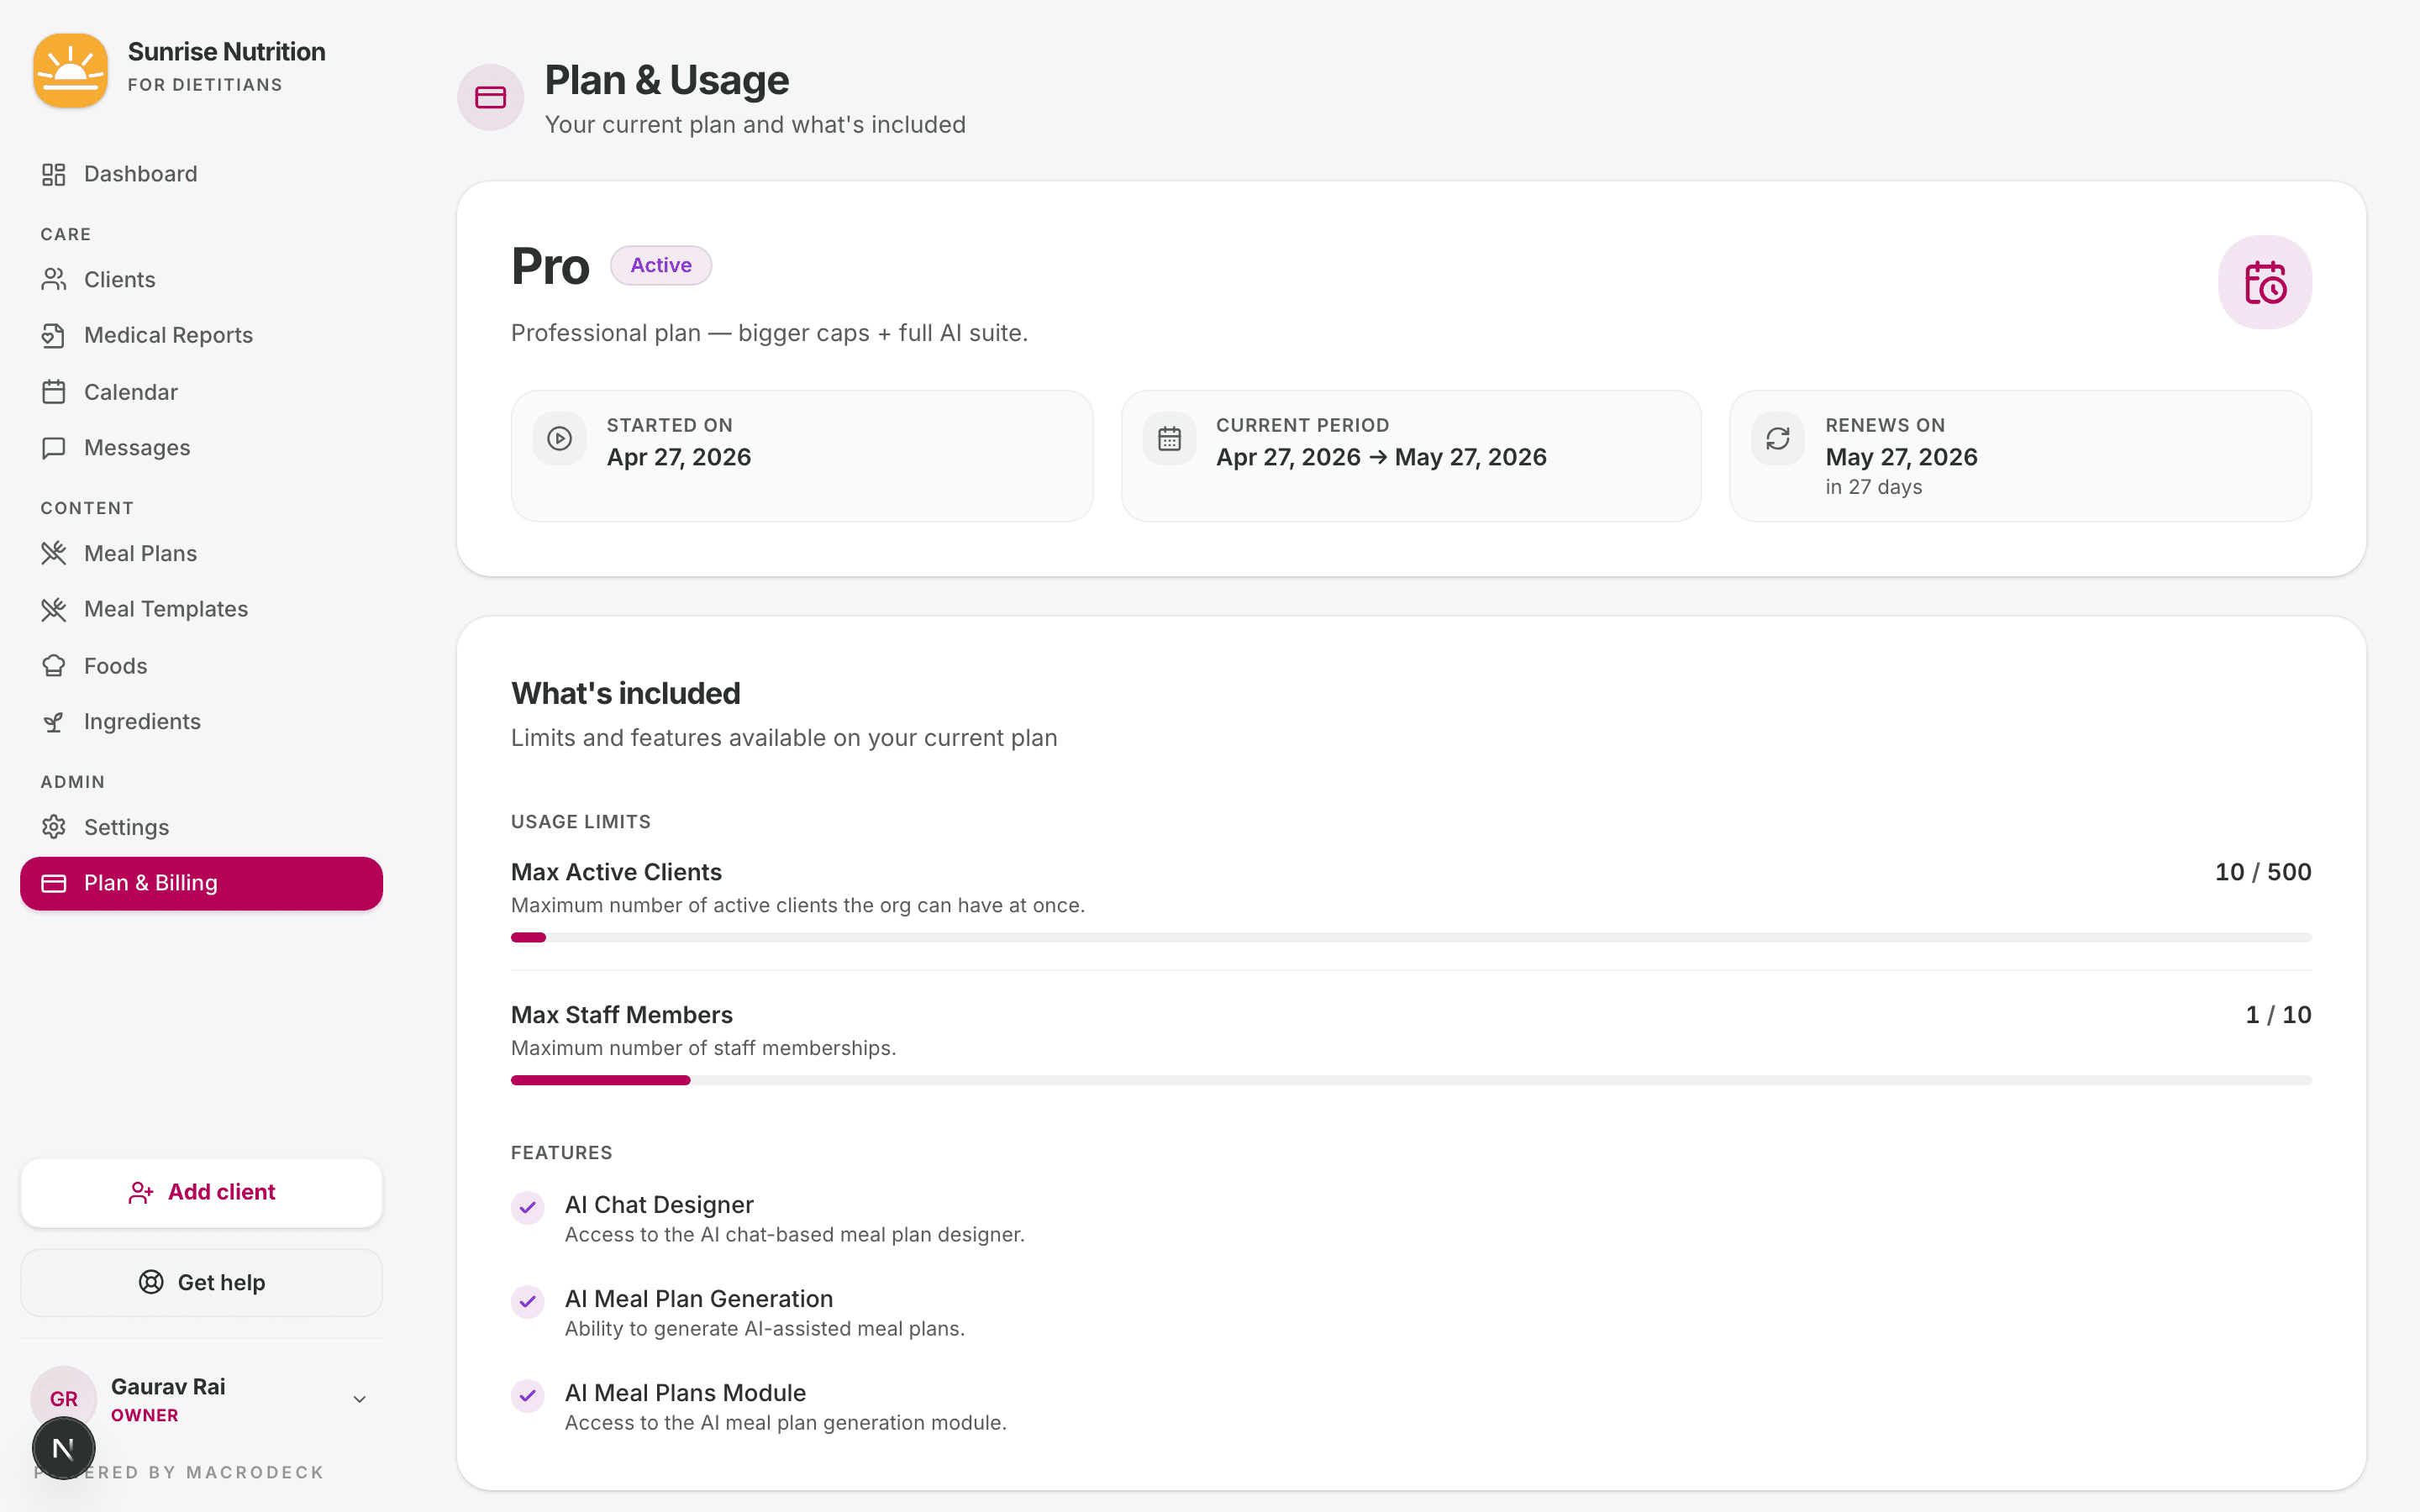
If you bump into a "quota reached" error when adding clients or staff, this is where to come.
Don't confuse this with Client Plans. Plan & Billing is your subscription to the product. Client Plans are the programs you sell to clients — a 90‑day package and so on. Different things, and it trips people up.
What's next
You're ready to onboard your first client.
→ Client onboarding — the 3‑step intake wizard.